Google Drive
Google Drive is a file storing platform where a user can store all his/her files in google drive. You will need Google Drive to work with Cloudmesh Storage to store files in Google Drive. Here files can be of any form ranging from documents to audio, video, or image files. In the free account, each user will be given around 15 GB of free data space to be stored. We can create folders and subfolders in Google Drive to store our data.
Each file will be stored in Google cloud with a unique URL and it’s up to the user to make the file sharable or not. Google Drive is reliable and if a user has different devices and if he/she wants to access those files then Google Drive is needed in this case as he can have access to his file as all his files are stored in the cloud. The user does not need to install any kind of software in order to view these files.
Create a Project
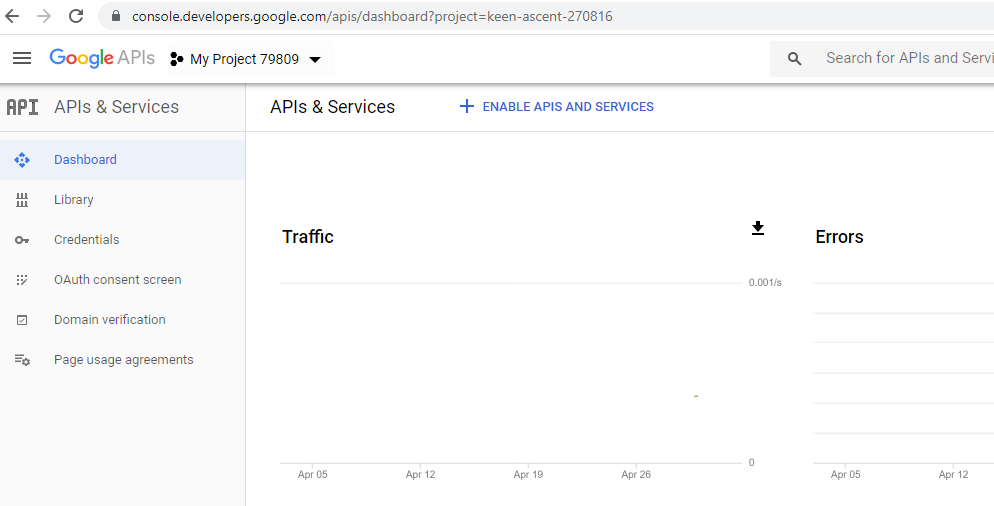
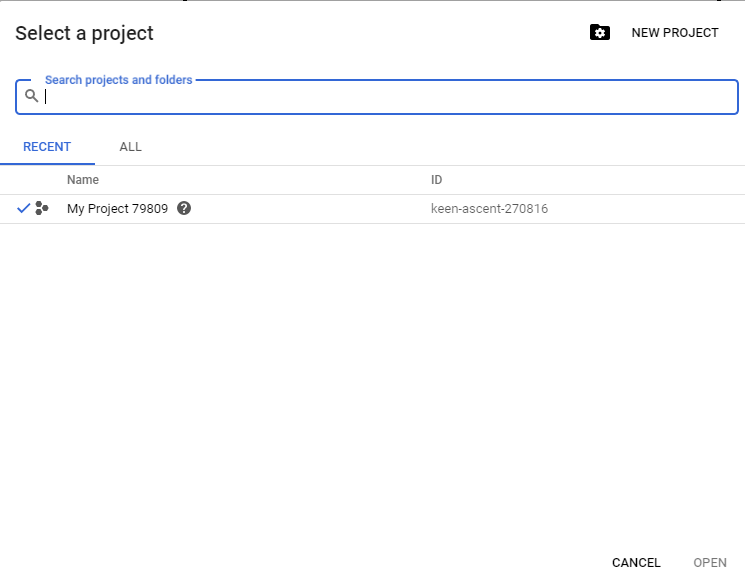
To obtain credentials to use Google drive, go to Google APIs website and create a project. To create a project, go to Dashboard in Google APIs console. In the Select a Project window, click NEW PROJECT.
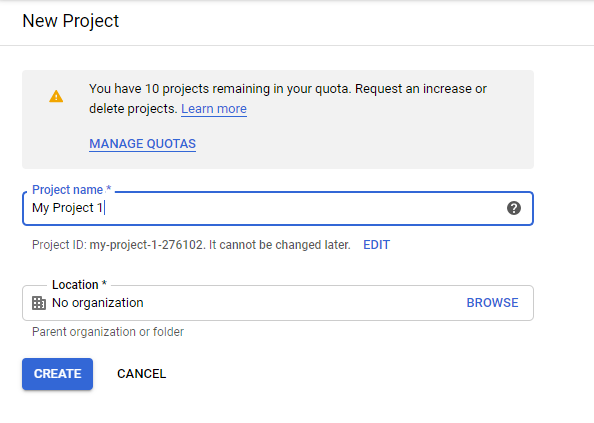
Enter a project name we want to use. Click CREATE.
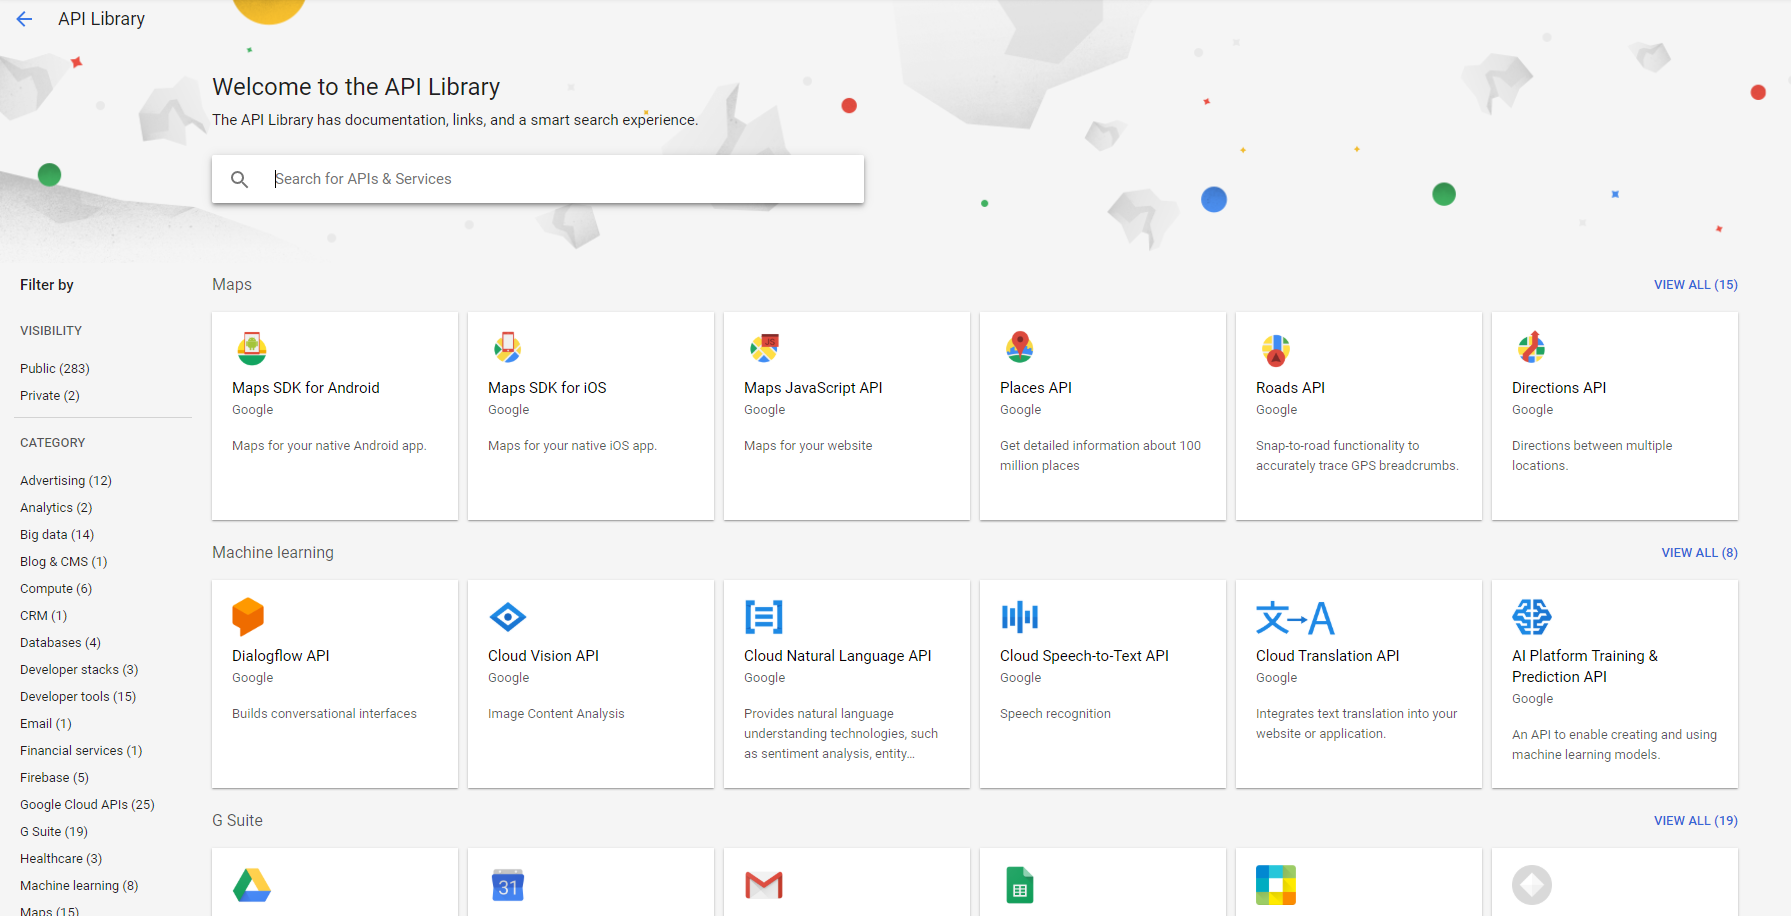
Enable APIs and Services
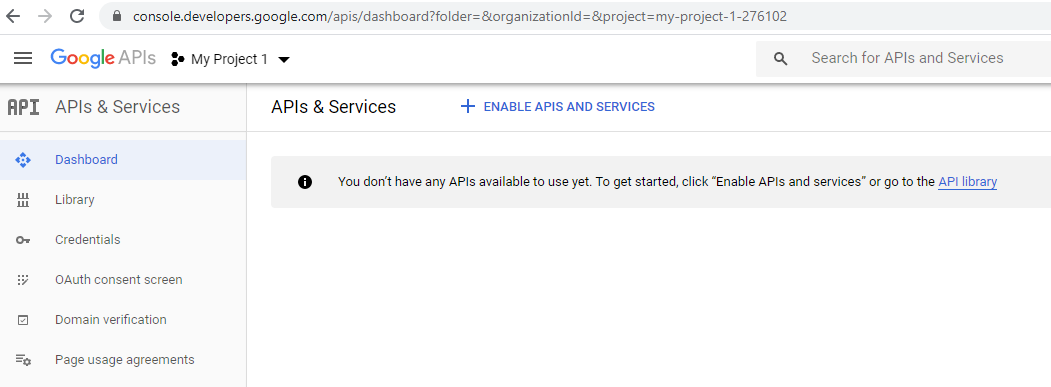
In the APIs and Services Dashboard for the project we created, click ENABLE APIS AND SERVICES.
This leads to the Welcome to the API Library page.
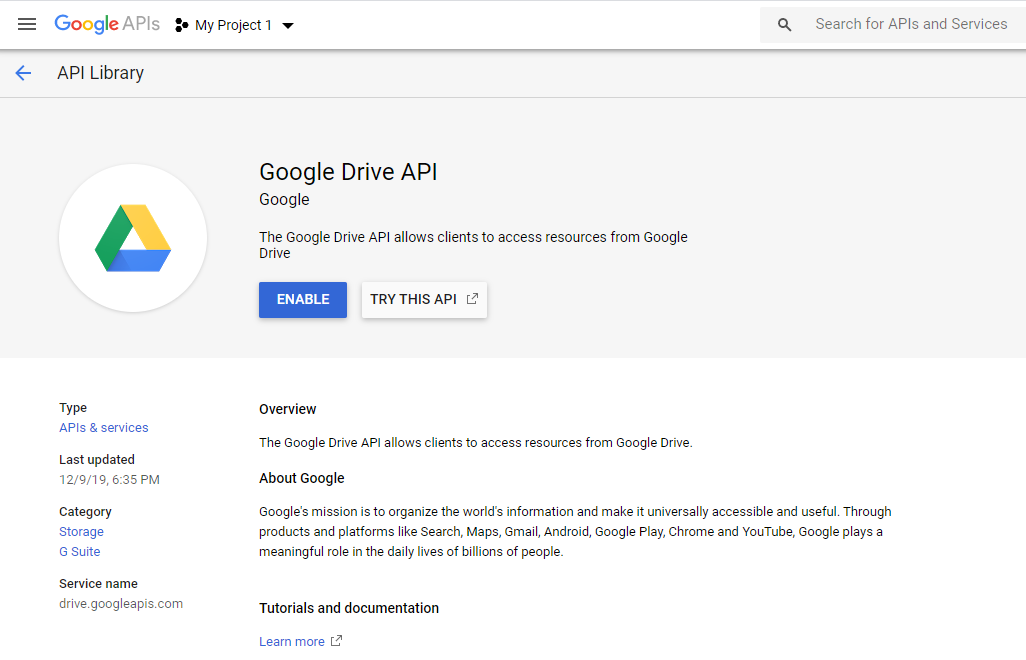
Search for “google drive api”.
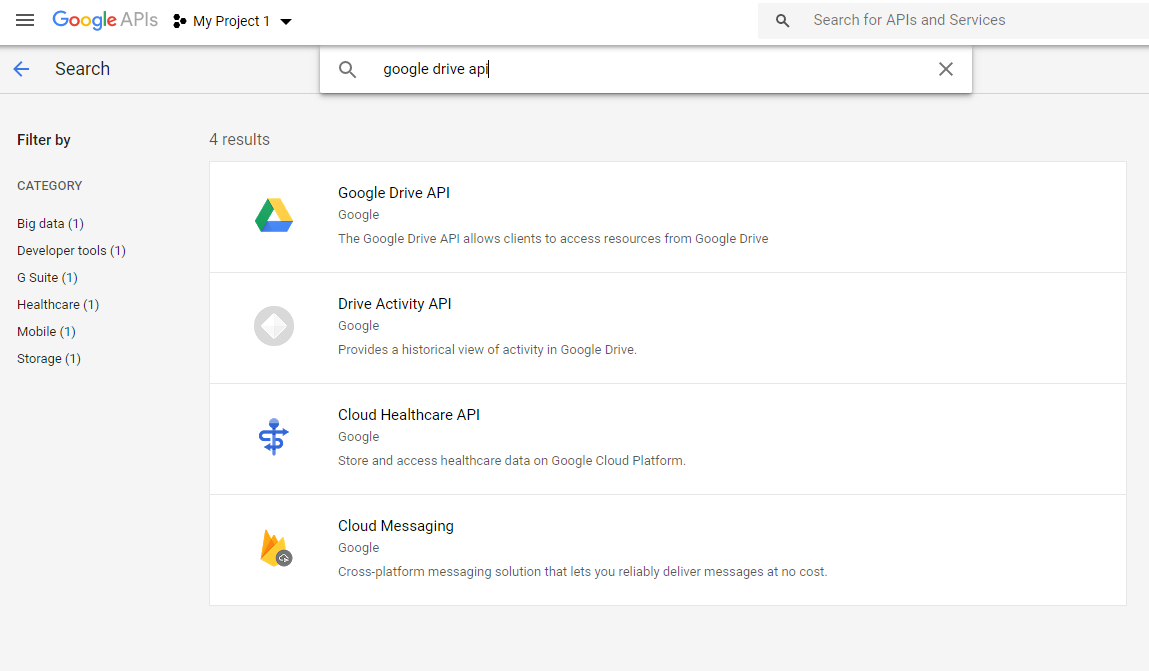
Click ENABLE.
Create Credentials
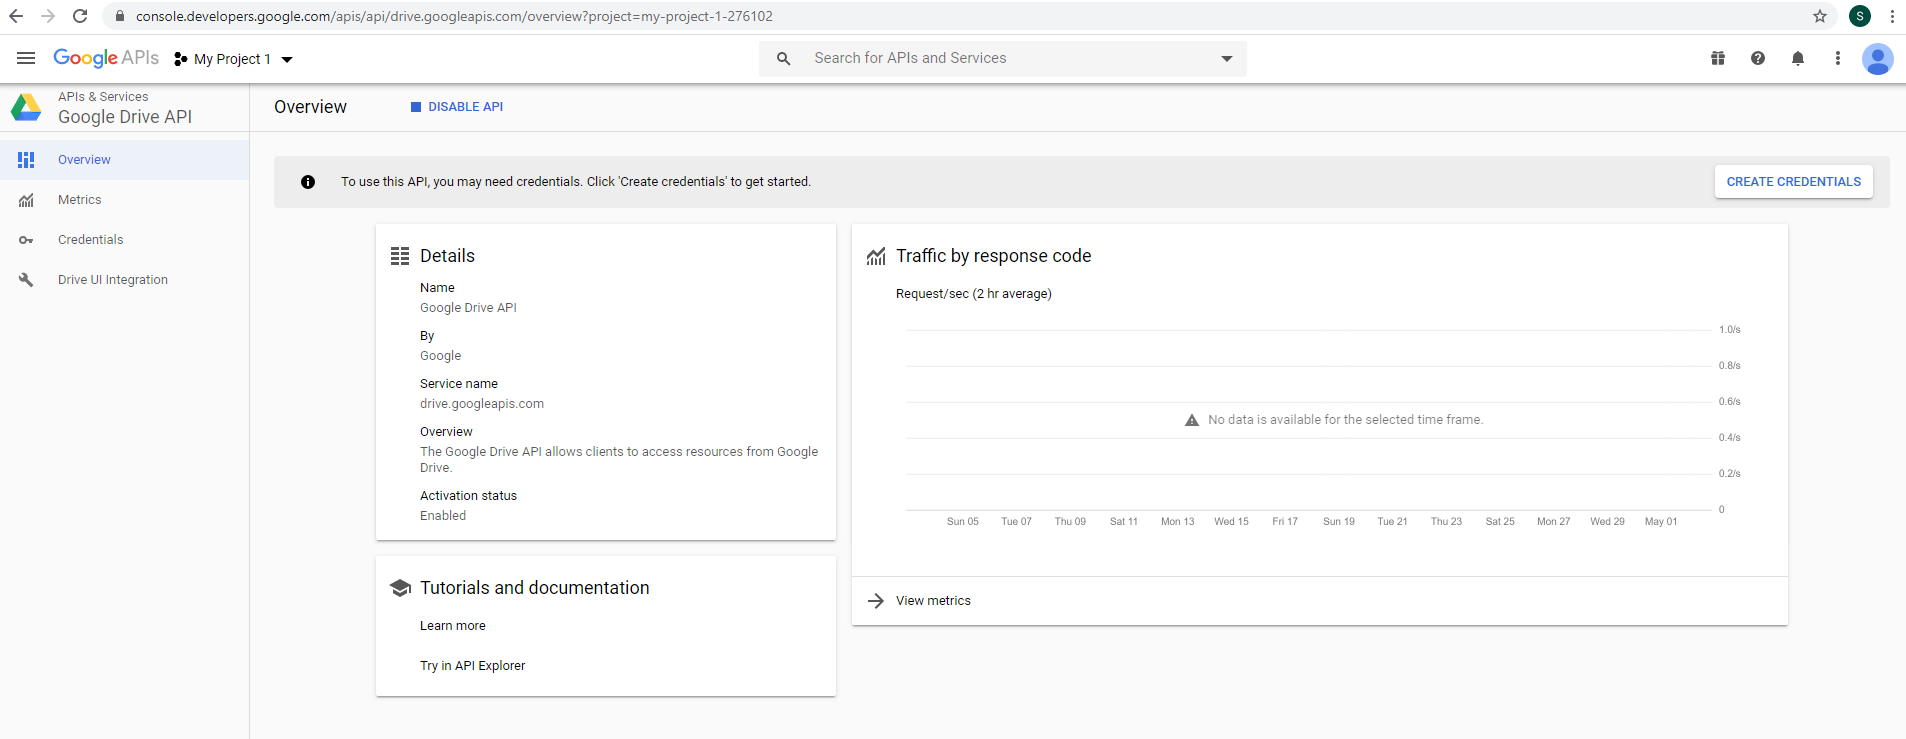
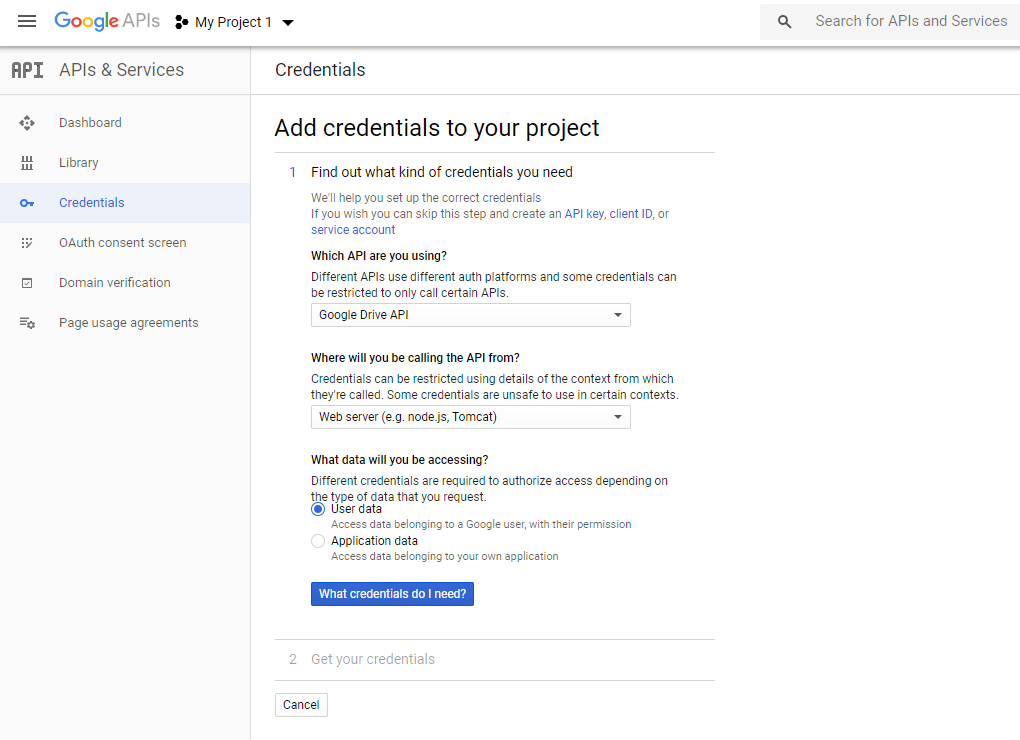
At the Google Drive API Overview page, click CREATE CREDENTIALS.
Select the credentials you need. Click What credentials do I need?.
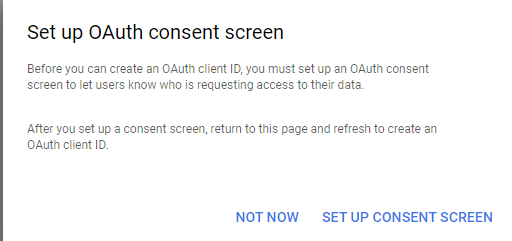
At the Set up OAuth consent screen, click SET UP CONSENT SCREEN.
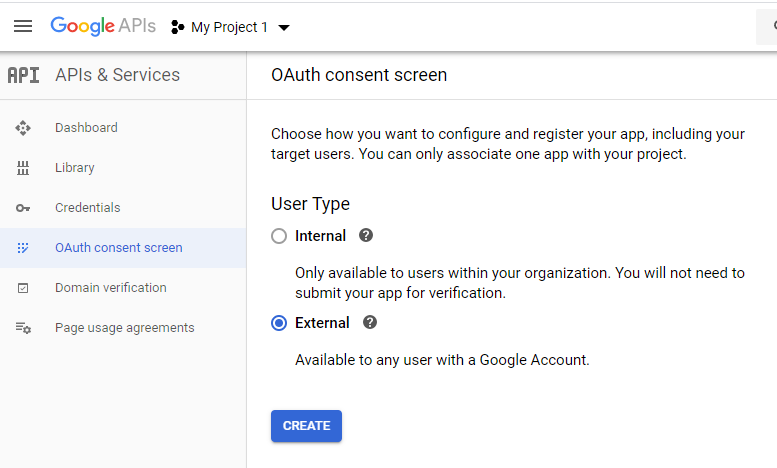
Select External user type. Click CREATE.
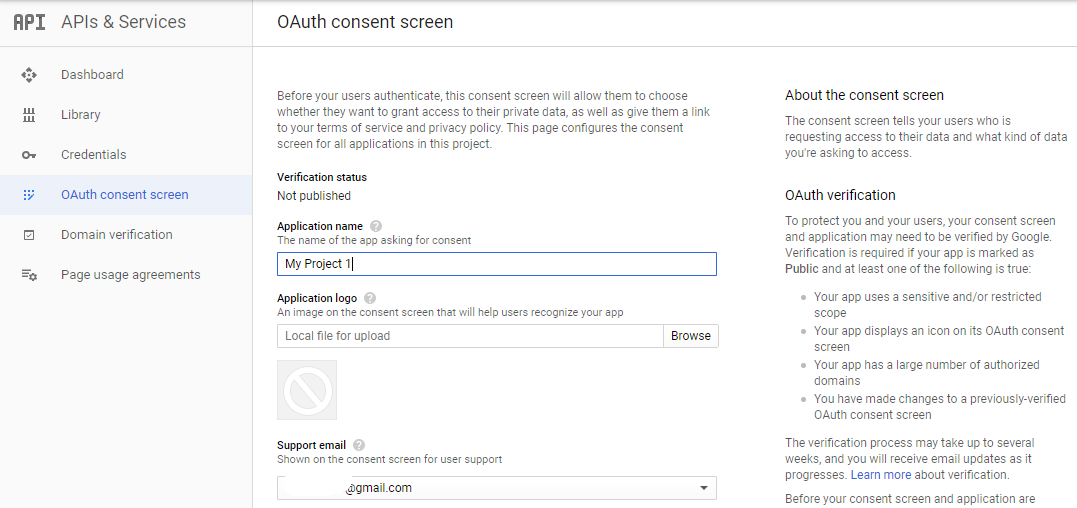
Enter application name. Enter the Gmail account we use for the project.
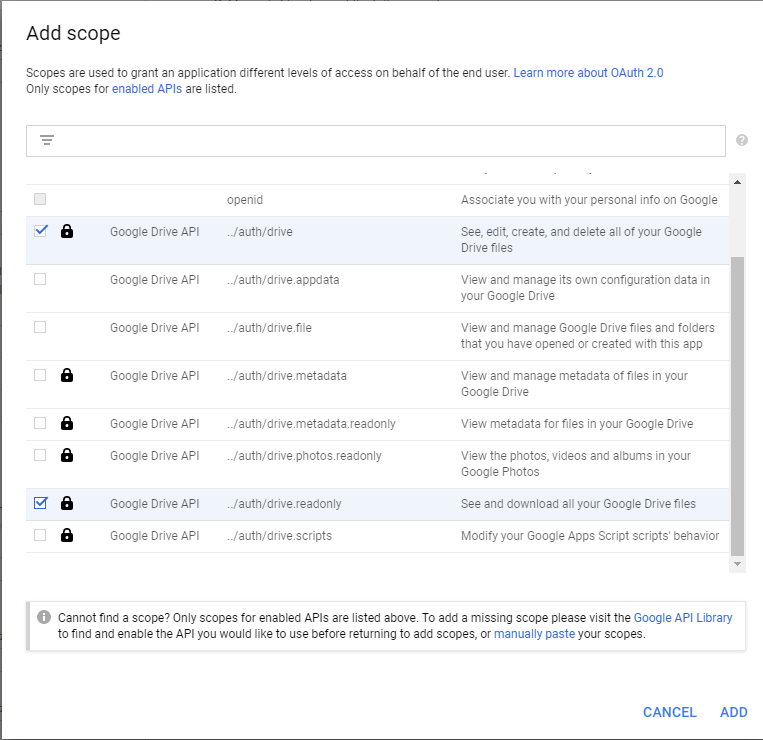
Select scopes to See, edit, create and delete all of your Google Drive files, and See and download all your Google Drive files. Click ADD.
Click Save.
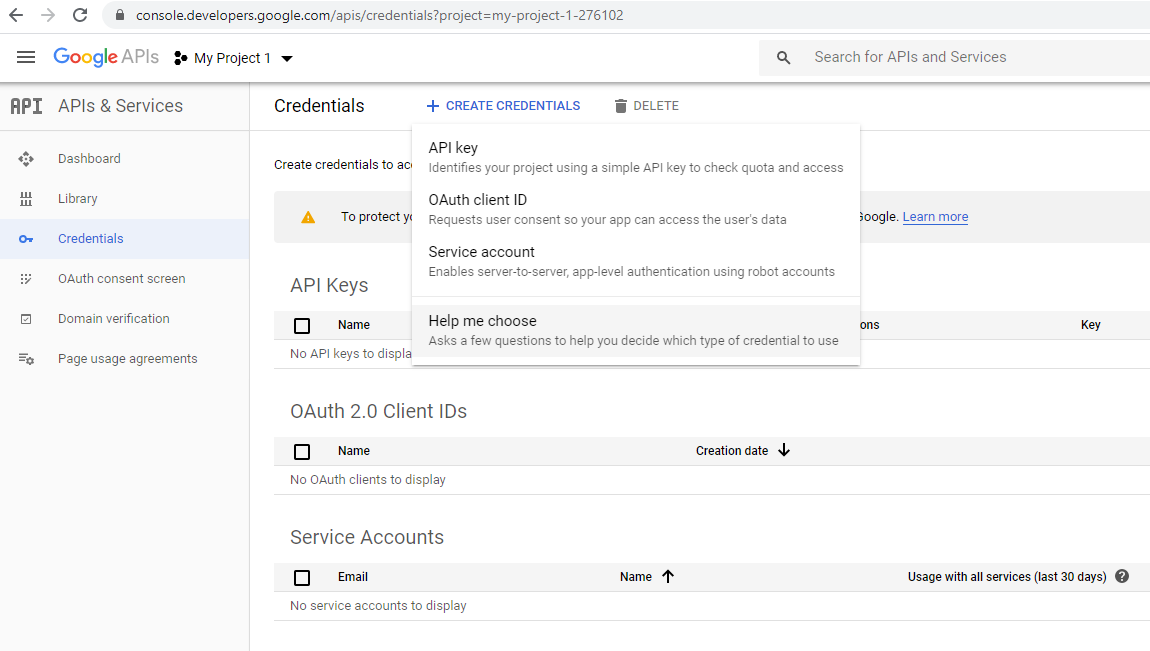
At the APIs and Services Credentials page, click CREATE CREDENTIALS, select OAUTH client ID.
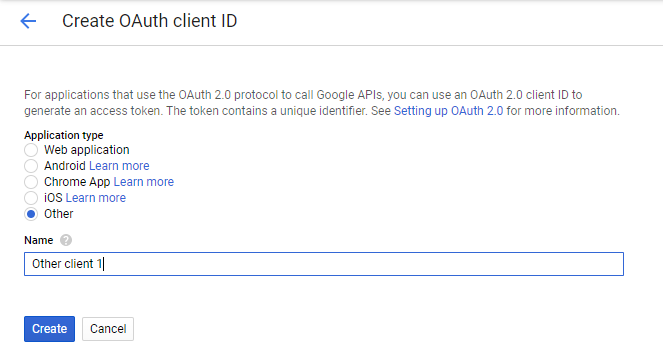
Select Other for the application type. A default name “Other client 1” will be generated which we can keep.
This leads to OAuth client created screen. Click OK.
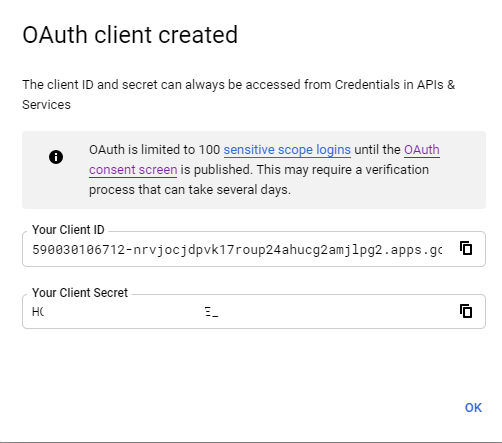
Click the download button to download the credential file.

The default name of the file is something like “client_secret_xxxxxxxxxxxxxxxxxxxxxxxxxxpg2.apps.googleusercontent.com.json”. Rename it to “credentials.json”, and place it in the directory specified in cloudmesh.yaml for key “credentials_json_path”.
Authorization Flow
In order to create the authorization flow, we also need to modify cloudmesh.yaml to store the paths of the files needed for authentication, including the path for credentials.json and path for token.pickle, which we will create next.
parallelgdrive:
  cm:
    active: false
    heading: GDrive
    host: dgrive.google.com
    label: parallelgdrive
    kind: parallelgdrive
    version: TBD
    service: storage
  default:
    directory: TBD
  credentials:
    credentials_json_path: [put the path of credentials.json here]
    token_path: [put the path of token.pickle here]
Now we are ready to create the authorization flow. The codes for creating credentials for authorization is included in the Provider.py file. Here is the link:
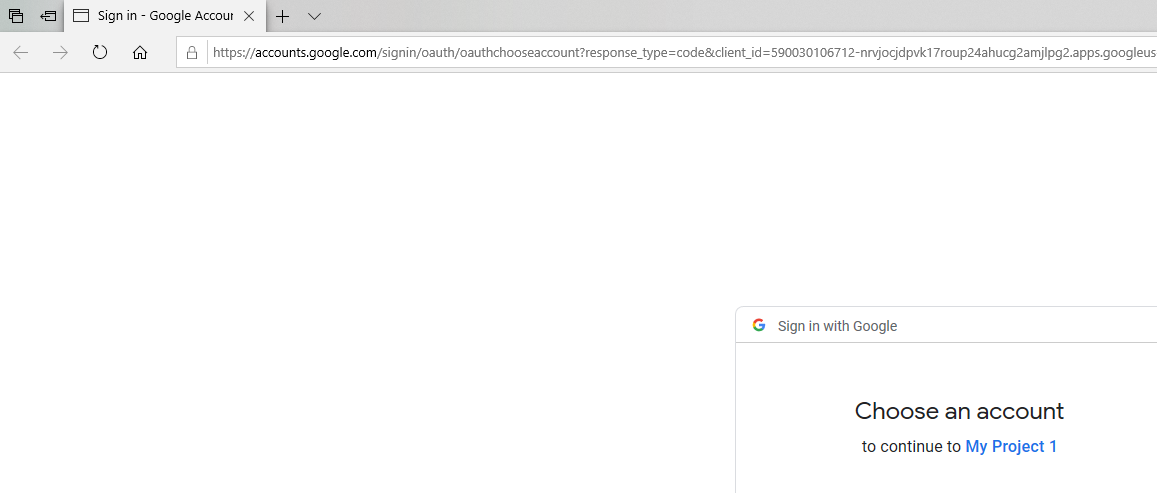
When we run the Provider.py for the first time, do so in the Terminal.

We will be redirected to the Sign in page. Choose the Google account to continue to the project.
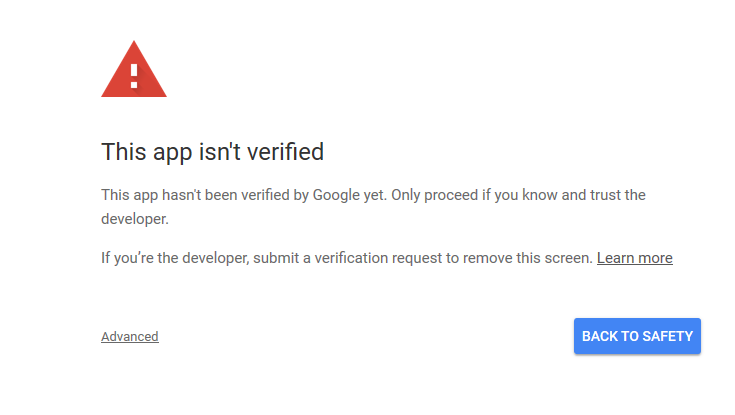
Click Advanced.
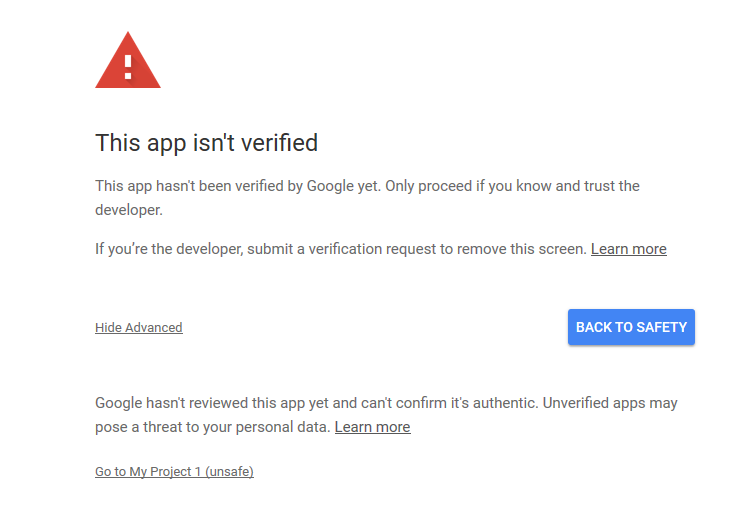
Click Go to [your project name].
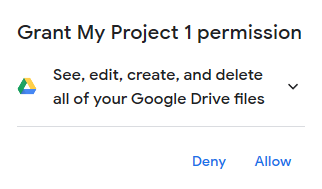
In the Grant permission page, click Allow.
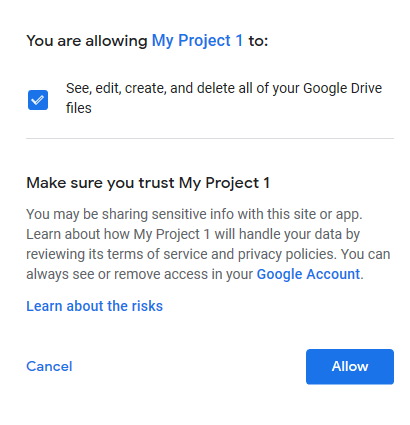
Click Allow again to confirm.
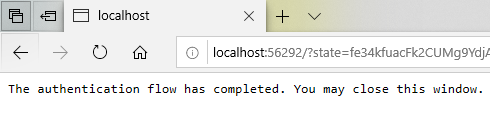
A message will be displayed that the authentication flow has been completed.
When the authentication flow completes, it will create a
token.pickle file in our working directory on our computer. We
need to place this file in the token_path specified in the
cloudmesh.yaml file.
This file can be used for future purposes so we do not need to login
every time. If we delete this file for any reason, e.g. changing the
permission scope, then the authorization process will again ask for
login id and password, and again create token.pickle
automatically.