Azure Account
Microsoft Azure is a cloud computing service created by Microsoft for building, testing, deploying, and managing applications and services through Microsoft-managed data centers.
Azure has over 600 services, including compute, mobile service, storage service, data management, messaging, and so on. In this case, Azure itself is a multi-functional platform. As for the compute service, which is the core part of cloud computing, it provides virtual machines allowing users to launch general-purpose Microsoft Windows and Linux virtual machines, as well as preconfigured machine images for popular software packages. The app services environment lets developers easily publish and manage websites. Azure provides all its services to users based on the website, so users do not need to install any kind of software in order to implement cloud computing or use other services;
Azure Account
You can choose either using your outlook email address to create a free trial account including $200 credit and free access to the most popular Azure products for 12 months, or using your educational email address to create a student account including $100 credit.
If you want to create an Azure account using your outlook email, you can go to the next site after creating an outlook email address at:
Then you need to click the Start Free button as shown in the next screenshot. After entering all required information, your account will be set up. However, the account will only be available for 30 days. After 30 days, you can continue using your free products after you upgrade your account to a pay-as-you-go Azure subscription. If you forget to do so you will not be able to access Azure, So please add it to your calendar in order not to forget.
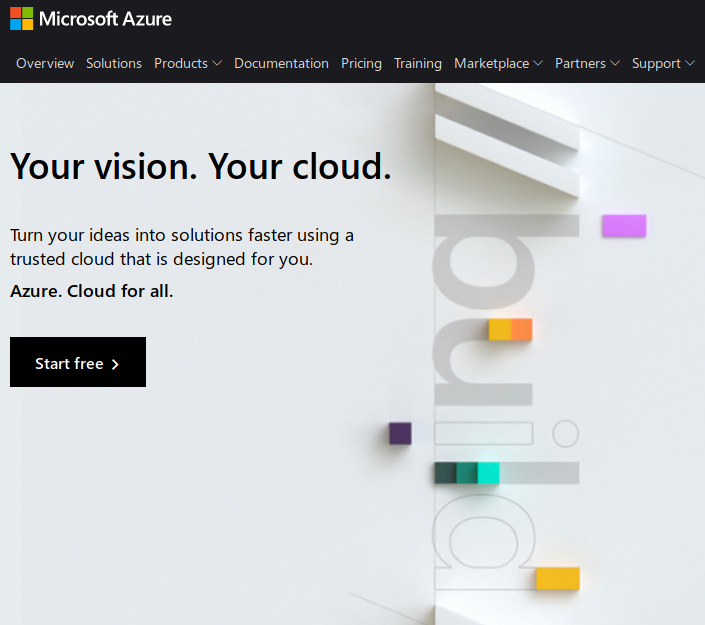
Start free
If you want to create an Azure account using your educational email, you can go to the next site if you already have an .edu email address:
Then you need to click the Activate now button showing in the next figure. By entering all required information, your account will be set up. If you use up all credits, you also need to upgrade your account to a pay-as-you-go Azure subscription to continue using other services.
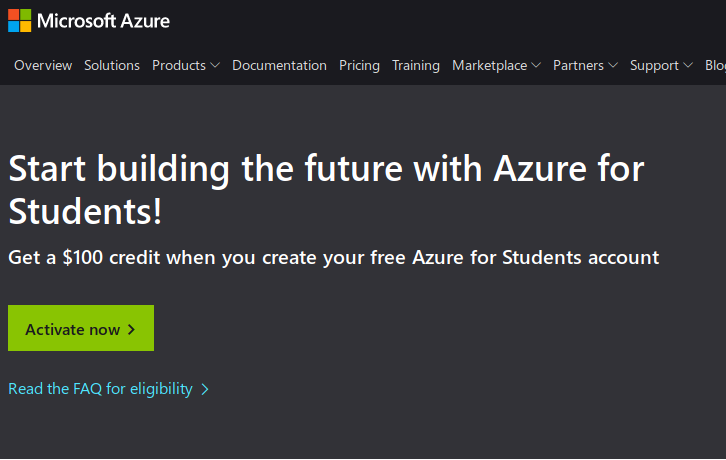
Activate now
As pointed out, to continue to use azure services after 30 days, you
need to upgrade your account to a pay-as-you-go Azure subscription. In
this case, you need to provide your information related to your credit
card to complete the upgrade steps. Go to the next link and click on
Purchase now:
Congratulations, you can now use Azure.
Azure CLI
Now that we have an account we want to test if it works. The most convenient way to test your access from the command line is to install the azure command line client. You can access azure services by just typing a command on your local shell. It can be installed on Windows, macOS and Linux systems.
For detailed instructions for your system of interest, we recommend you visit the page
Installing Azure CLI on Ubuntu OS
In the following steps we will only discuss how to install it on an Ubuntu OS. First, make sure you have an up to date OS and that curl is installed with:
$ sudo apt-get update
$ sudo apt-get install curl
The installation is conducted with the following command that you will have to run as superuser:
$ curl -sL https://aka.ms/InstallAzureCLIDeb | sudo bash
When the installation is finished, you can test your az command by trying to use it to connect to your azure account. Type the next command in your bash:
$ az login
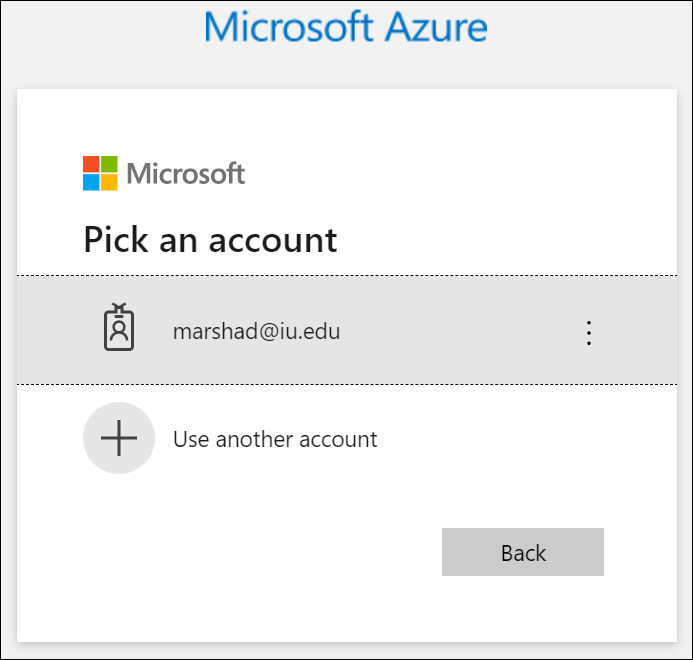
It opens your default browser and to conduct a sign-in to azure. If it does not open, please go to https://aka.ms/devicelogin in your browser. Once the page is loaded, you can sign in with your account credentials in the browser.
Installing Azure CLI on Windows 10
The following steps document an Azure CLI installation for Windows 10.
Start with opening up Windows PowerShell in Administrative Mode, then run the following:
cd ~
~\ENV3\Scripts\Activate.ps1
Invoke-WebRequest -Uri https://aka.ms/installazurecliwindows -OutFile .\AzureCLI.msi; Start-Process msiexec.exe -Wait -ArgumentList '/I AzureCLI.msi /quiet'
Once installed, the next step is to test using the new az command.
Let’s start by running az login, which will then prompt you to login
via your default browser. Note: you can now utilize Windows Command
Prompt or PowerShell for interacting with the Azure CLI:
az login
Sign in via the default browser using your Azure credentials.

Now you are ready to use the az command to interact with Azure.
Azure Resource Group (for Storage)
To use any resource on Azure, you first need to create a resource group. This is potentially a confusing step as information on the internet may point you to outdated information. If you use other information from the internet, make sure it is up to date and references the services subscription account. After you logged into the Azure portal at:
You will be presented with a window such as
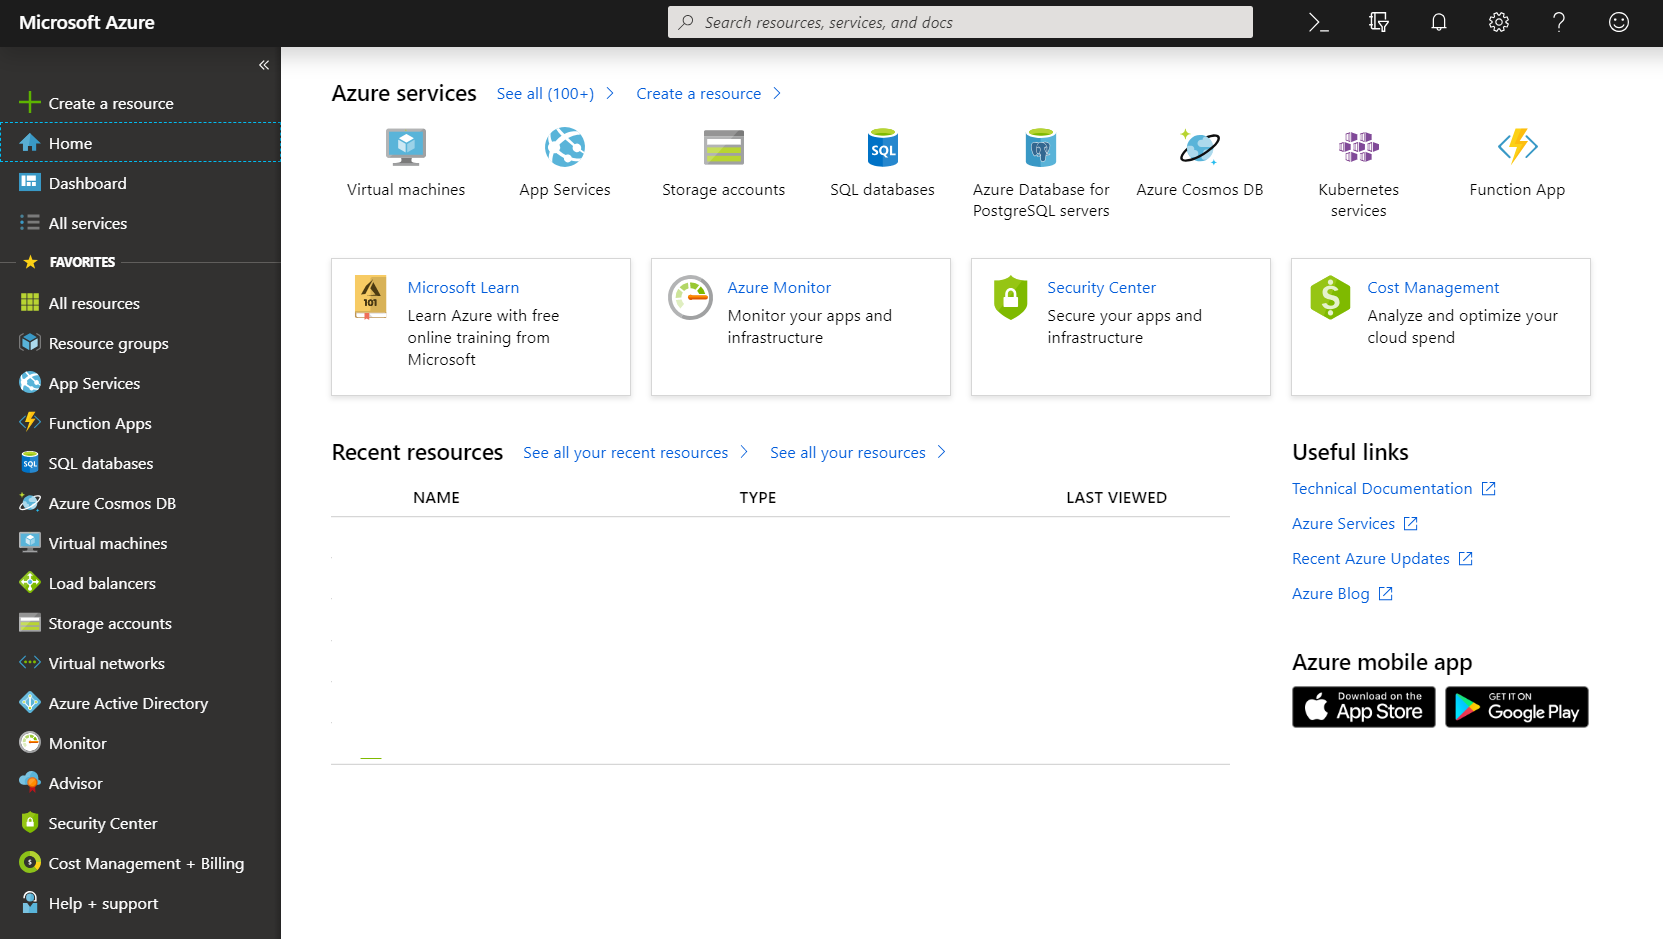
AZ-Portal
In the Azure window, click on Create a resource on the top left
corner.
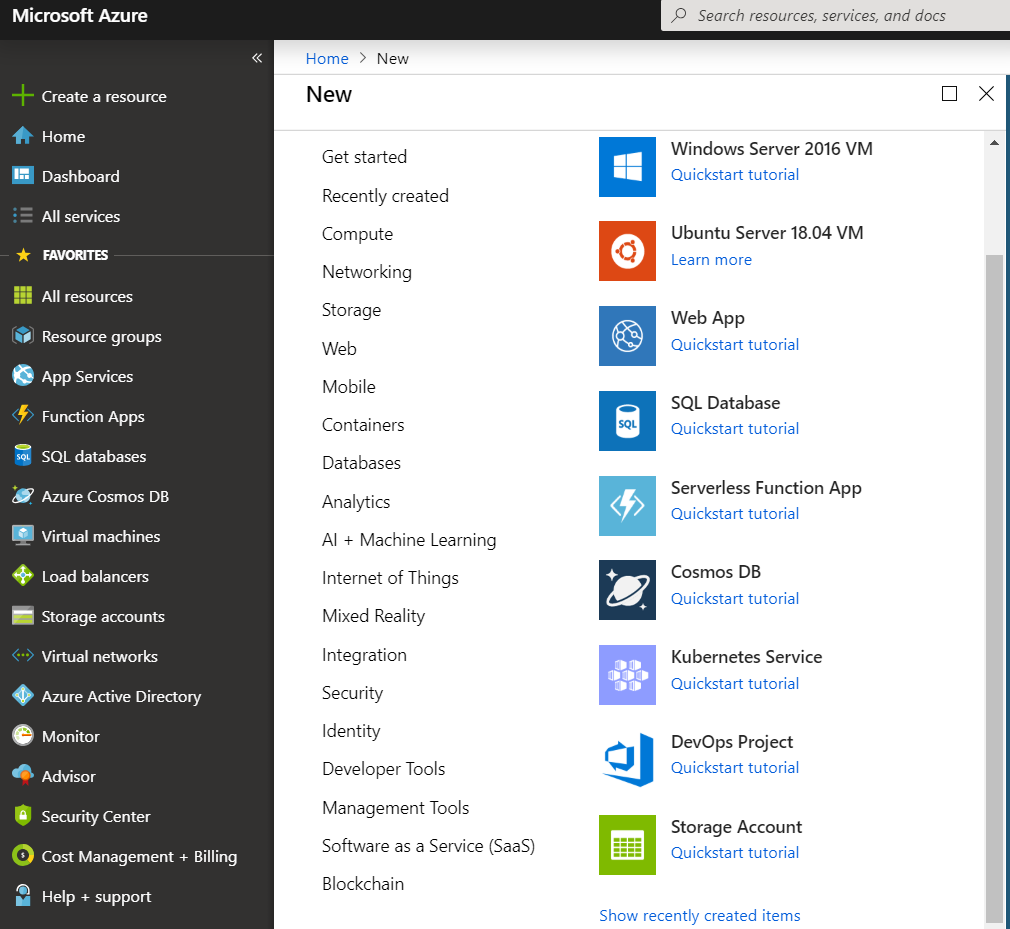
AZ-Resource
Now, select Storage Account from the options shown
AZ-Account
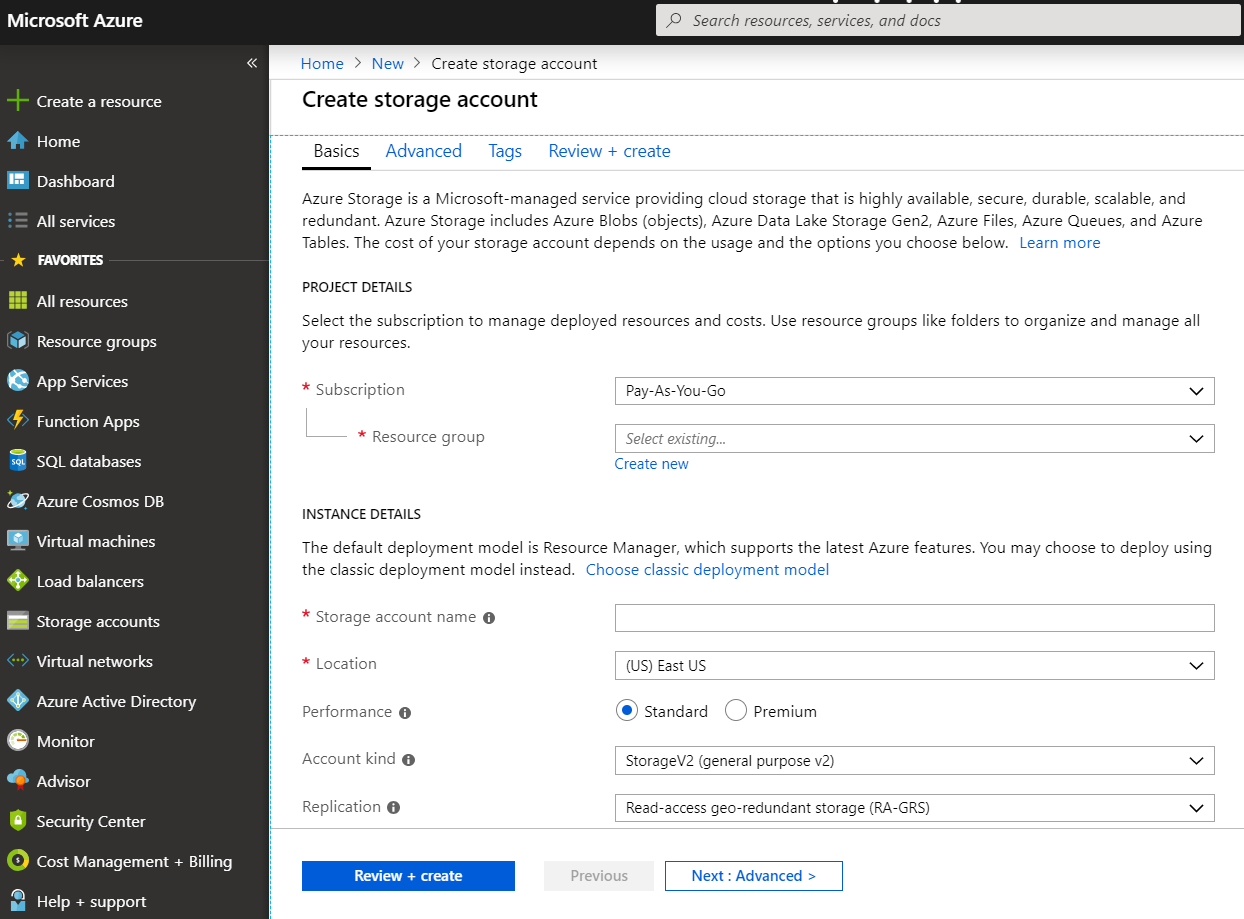
Follow the steps carefully:
Select the subscription in which to create the storage account.
Under the
Resource groupfield, select Create new. Enter a name for your new resource group.Next, enter a name for your storage account.
Select a
locationfor your storage account, or use the default location.Select
create
After the completion of the previous steps, the Azure blob storage service will be ready for use.
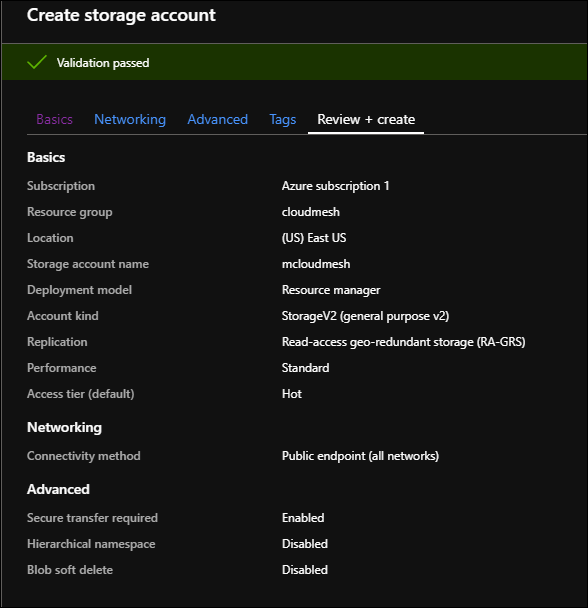
AZ-Account
As a first step, a Container should be created in the Blob storage.
A container organizes a set of blobs, similar to a directory in a file
system. A default Container should be set in the cloudmesh.yaml
file, details of which are outlined
here
Azure API Credentials
Azure_Subscription_ID
Navigate to subscriptions
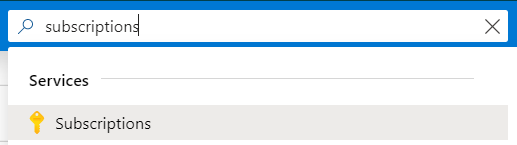
Navigate to Subs
Copy the Subscription ID to notepad

sub ID
Azure_Tenant_ID & Azure_Client_ID
Navigate to “Azure Active Directory” service and select “App Registrations”. Then select “New Registration”
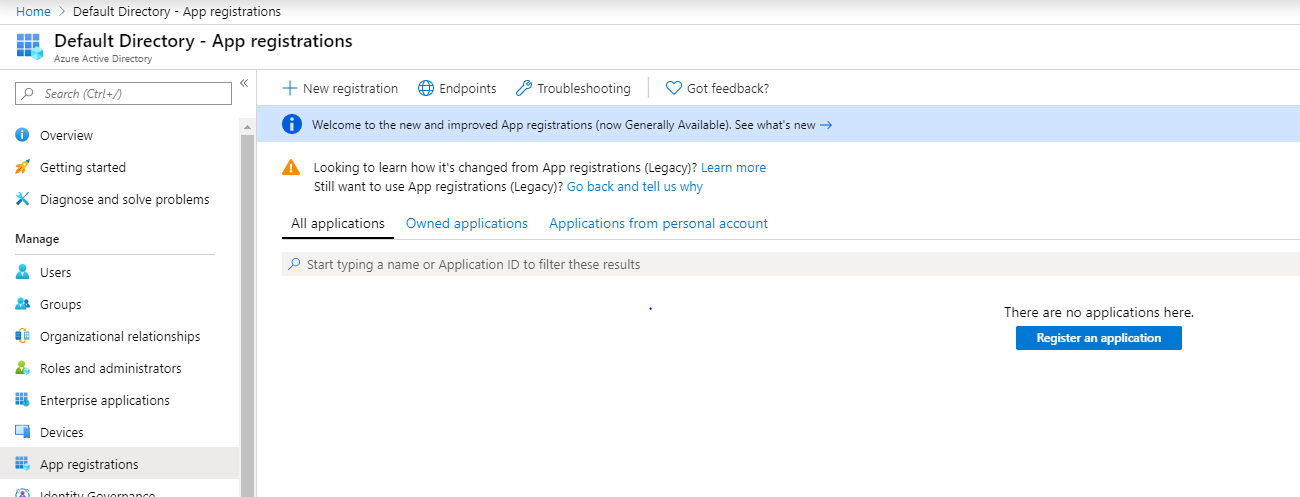
app register
You can input any name for the application
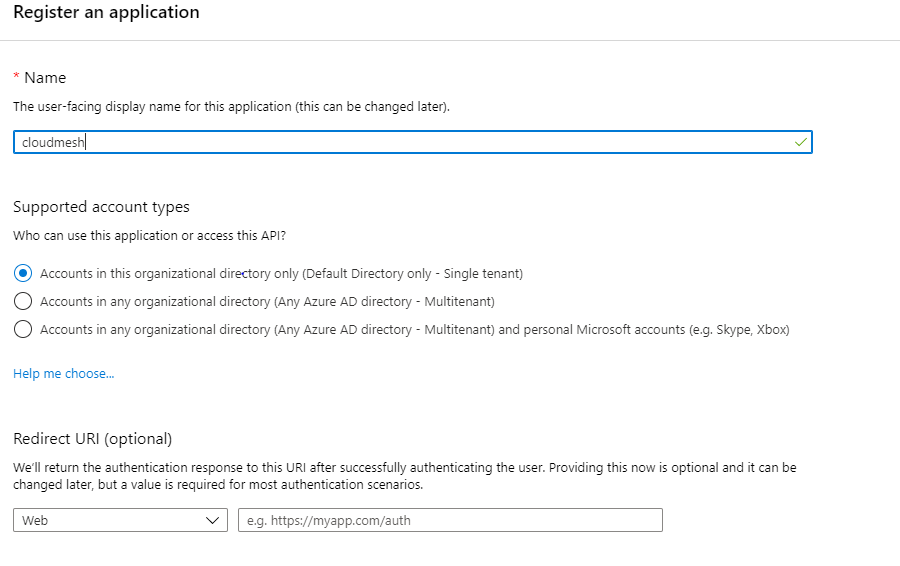
app creation
After creation, you will be navigated to the overview page of the application, on this page copy the client ID and tenant ID to notepad
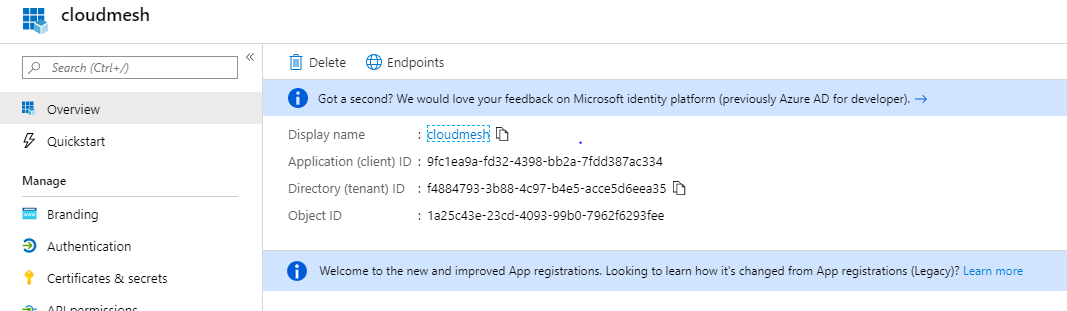
app overview
Azure_Secret_Key
In the same application page, navigate to Certificates & secrets and select “New client secret”
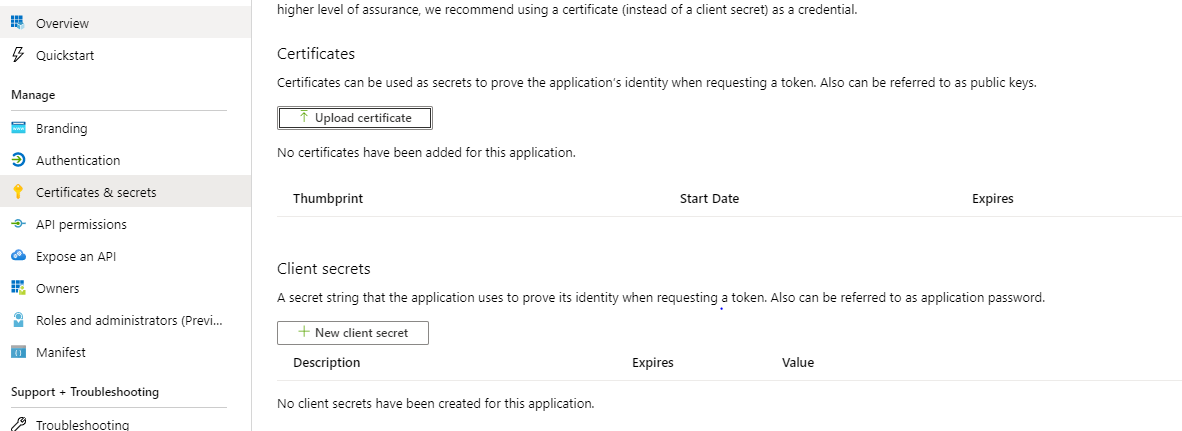
cert and sec
You can give any meaningful name to the new secret, use the default expiration for security purpose
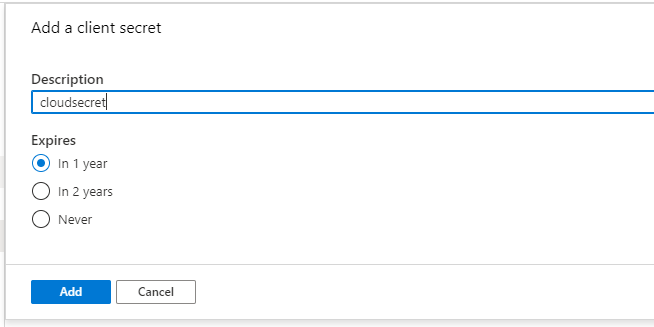
add client secret
After creation, copy the new client secret to notepad

Grant permission to an application
After we have collected 4 credentials, we need to add a role assignment to the application that we just created, so it can access the resources
Navigate to the subscription overview page and select “Access control(IAM)” then select “add”, “Add role assignment”
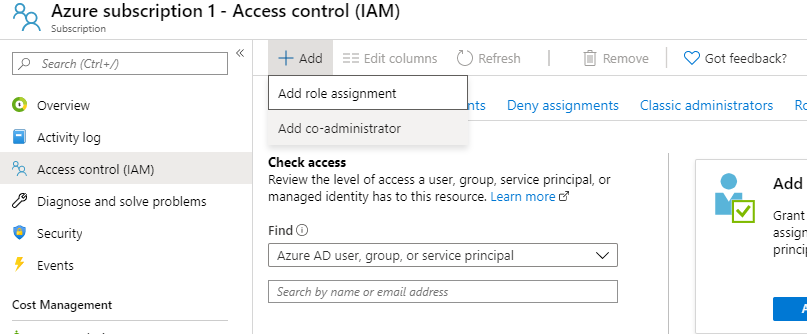
add role assignment
You can give the application “Contributor” role, the “contributor” role has enough access to compute resources. Leave the second option as “Azure AD user, group, or service principal”. For the third option, you need to input the application name that you just created, it doesn’t show up by default
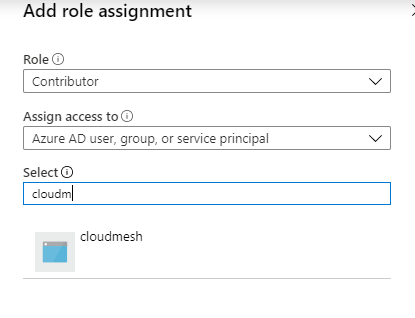
grant role assignment

Azure Resource Group (for Compute)
[ ] TODO: Azure. Compute Resource Group. To be completed by students
Azure Resource Group (for Storage and Compute)
[ ] TODO: Azure. Storage and Compute Resource Group. To be completed by students.
FAQ
Can the resource group be created with the az command? How is it done for storage, how is it done for compute?
[ ] todo: Azure. Compute and Storage FAQ: to be completed.
[ ] TODO: there are several images in the folder
accounts/images/azure, but they are not used in the text]
References
Additional references are included here
https://docs.microsoft.com/en-us/cli/azure/install-azure-cli-apt?view=azure-cli-latest
https://docs.microsoft.com/en-us/cli/azure/?view=azure-cli-latest
https://docs.microsoft.com/en-us/azure/storage/common/storage-introduction
https://docs.microsoft.com/en-us/azure/storage/blobs/storage-blobs-overview