Ubuntu Juju
This lesson will introduce you to Ubuntu Juju, an open-source service management tool.
Tip
Duration: 1 hour
Prerequisite
In order to conduct this lesson you should have knowledge of
Description
Ubuntu Juju is an open source configuration management tool to deploy and provision software on a virtualized environment. MySQL, RabbitMQ, OpenStack, WordPress, Apache, MediaWiki, MongoDB, Hadoop, and many other software are available on the Juju’s official repository, Juju Charm Store. Juju Charm is a structured bundle of files with metadata, configuration data and hooks with some extra support files to provision cloud software.
This lesson covers for:
- Juju installation on ubuntu (or windows)
- Juju Quick start
- Juju GUI
- Media Wiki or WordPress
- iptables for virtual networks
Juju Installation on FutureSystems
Here we use a OpenStack VM instance to start Juju.
Note
If you need to know how to create a VM instance on FutureSystems, see here: Launching a New Instance
Installation on Ubuntu
- Start a VM instance with futuresystems/Ubuntu-14.04.
Once you are in a VM instance, refresh the package lists with the following commands:
sudo add-apt-repository ppa:juju/stable -y
sudo apt-get update
Install Juju packages:
sudo apt-get install juju-quickstart -y
sudo apt-get install juju-core -y
Installation on OSX (Optional)
Try to use Homebrew for installing Juju on OSX:
brew install juju-quickstart
brew install juju
Installation on Windows (Optional)
Download link for Windows 7, 8 (as of 03/31/2015): https://launchpad.net/juju-core/1.21/1.21.3/+download/juju-setup-1.21.3-signed.exe
Warning
The installation on Windows and OSX are not tested by our team.
Testing your Setup
juju-quickstart mediawiki-single
Configuration of Cloud Environment
In this step, you choose your cloud provider. You can simply choose a local environment. Juju will deploy software inside of your VM instance.
Juju GUI
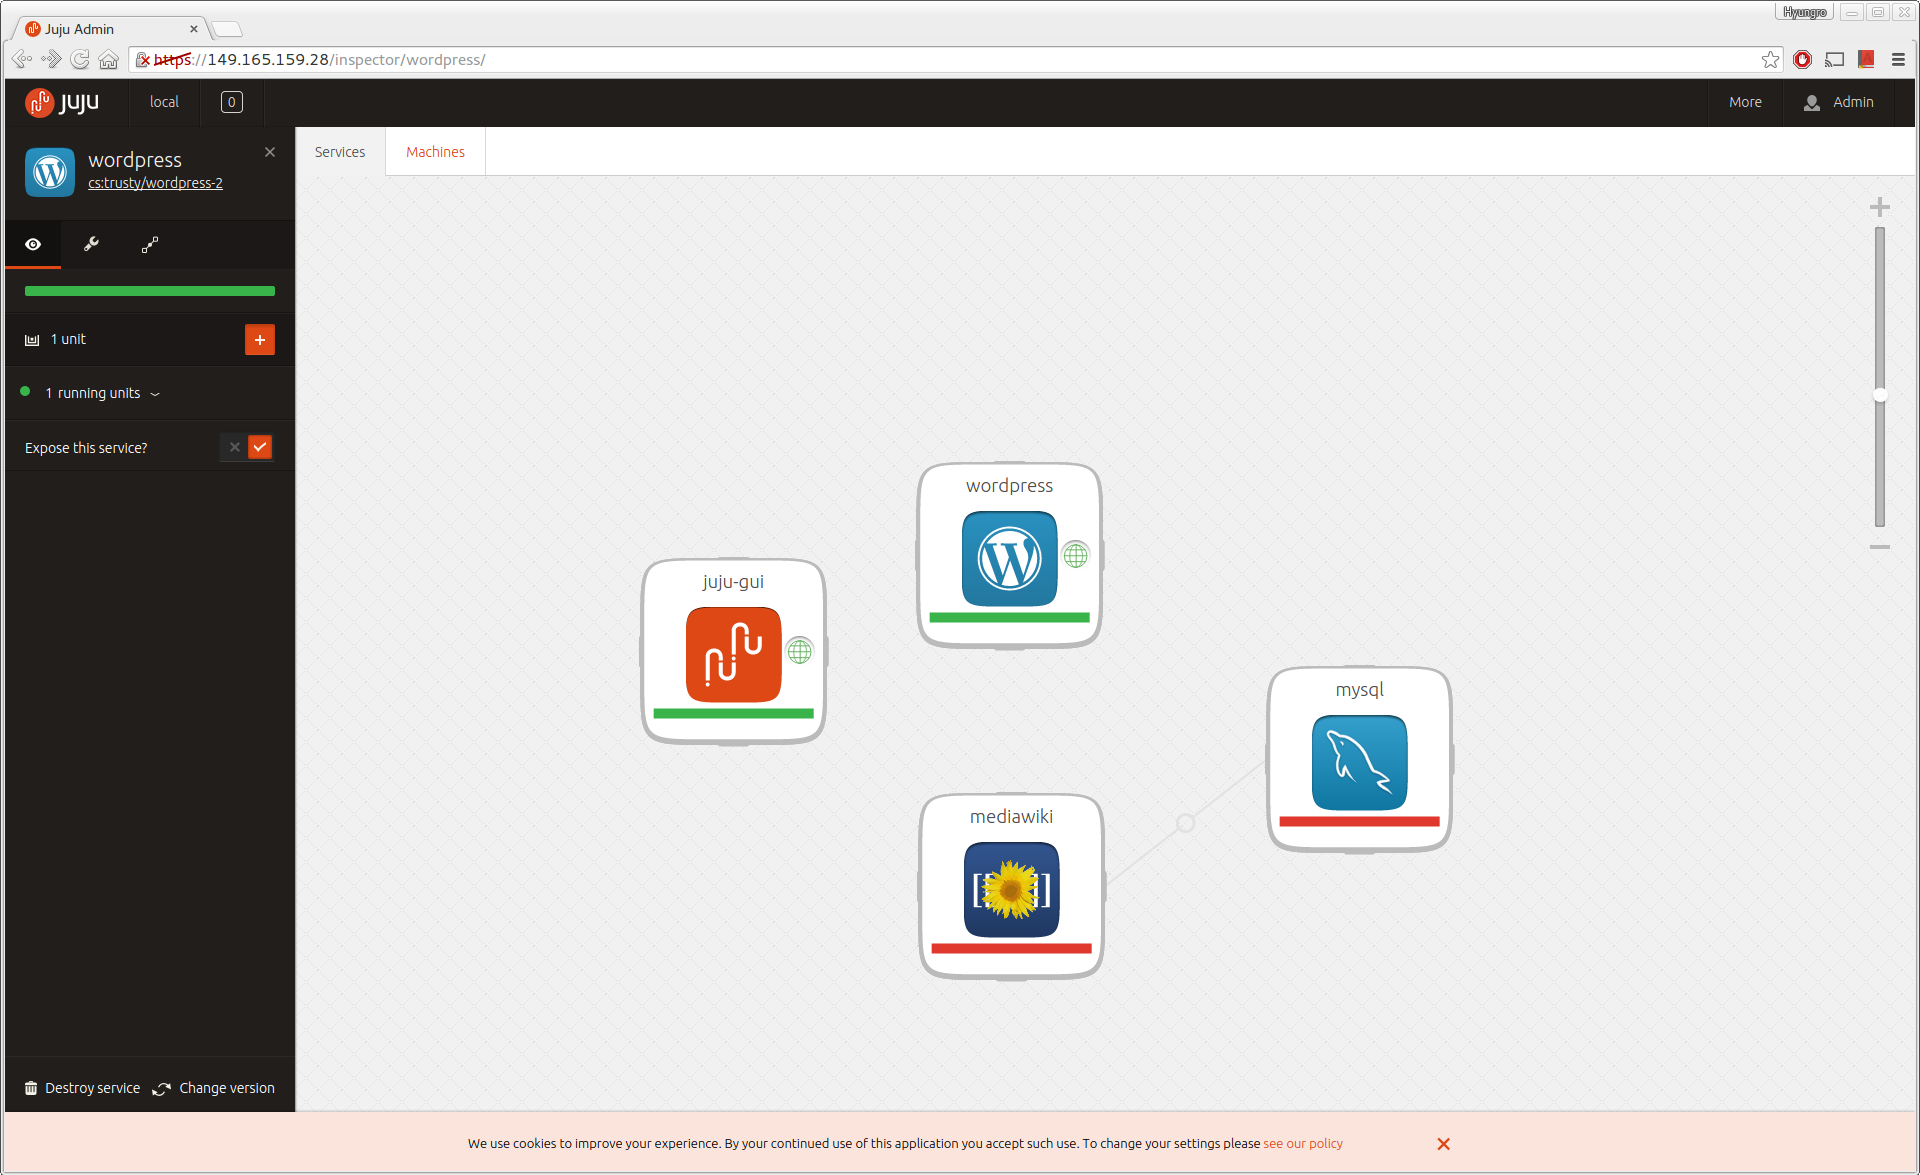
juju-quickstart contains Juju GUI. You can use a web browser to manage your services on Juju.
IP tables Configuration
Since Juju GUI is running with a virtual network in your VM instance, you need
to configure iptables. Your Juju GUI will be served on your floating IP
address with the FORWARD rules.:
sudo iptables -t nat -A PREROUTING -p tcp -d 0.0.0.0 --dport 443 -j DNAT --to-destination [IP ADDRESS of Juju GUI]:443
You can find a IP address of your Juju GUI with the following command:
juju status
You may find public-address under juju-gui section:
...
services:
  juju-gui:
  charm: cs:trusty/juju-gui-22
  exposed: true
  units:
    juju-gui/0:
      agent-state: started
      agent-state-info: (started)
      agent-version: 1.22.0.1
      machine: "1"
      open-ports:
      - 80/tcp
      - 443/tcp
      public-address: [IP ADDRESS]
...
Admin Password
To login Juju GUI, you need a username and a password.
When you start a service with juju-quickstart, the username and the
password will be printed out on your screen. Use them to login.
An example of output:
...
Juju GUI URL: https://10.0.3.1
username: admin
password: adm-b908bcba211a1234ac73e732b6e3315d
...
Screenshot of Juju GUI

Reference and Acknowledgement
Basic instructions and lessons in this page are adapted from the Juju website
- Juju Charm Store: https://jujucharms.com/solutions