Quickstart
This quickstart assumes you have already performed the following
installed cloudmesh
installed MongoDB either with the help of cloudmesh or another method
One of the features of Cloudmesh is to easily start new virtual machines
on various clouds. It uses defaults for these clouds that can be changed
but are easily stored in a YAML file located at
~/.cloudmesh/cloudmesh.yaml This file is created upon the first start
of the shell. You need to edit it and include some of your cloud
information.
A template for the YAML file is located at:
Make sure that if you edited the YAML file that you check if it is correctly formatted. This can be done with
cms config check
Configuration with the GUI
Cloudmesh comes with a simple GUI program that can only be used on the machines natively. E.g. It does not work in containers and the Linux Subsystem on Windows.
To install it as a user you can do it with:
pip install cloudmesh-gui
You will have the command cms gui available. You will need to configure the profile, activate clouds and add credentials for a cloud. For this, you can use:
cms gui quick
cms gui profile
cms gui activate
cms gui cloud chameleon
cms gui mongo user
We assume here you like to configure the credentials for the chameleon cloud.
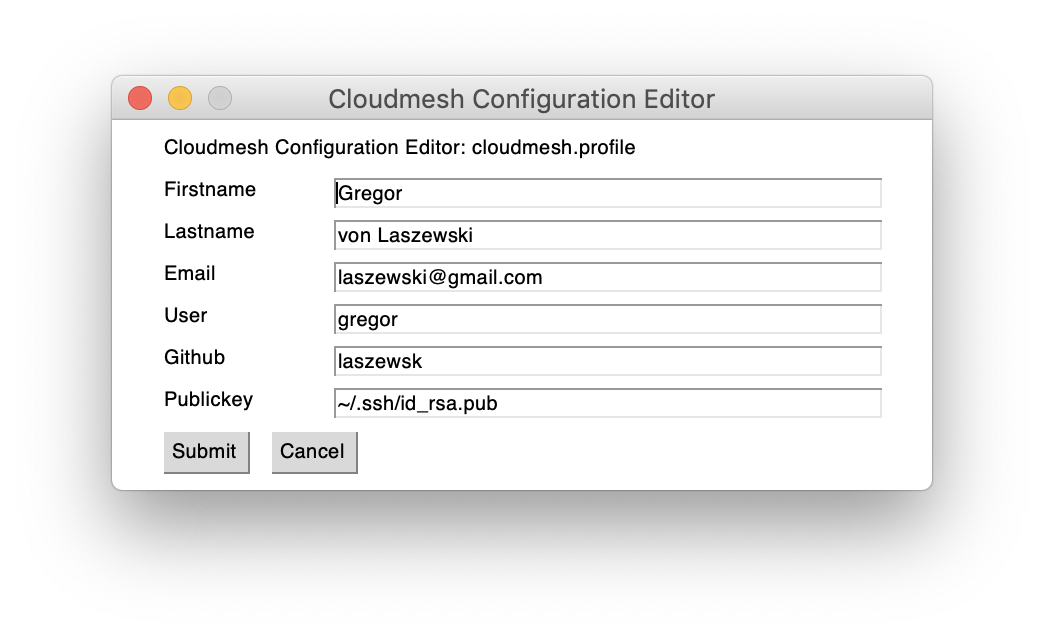
Figure: Setting the profile cms gui profile
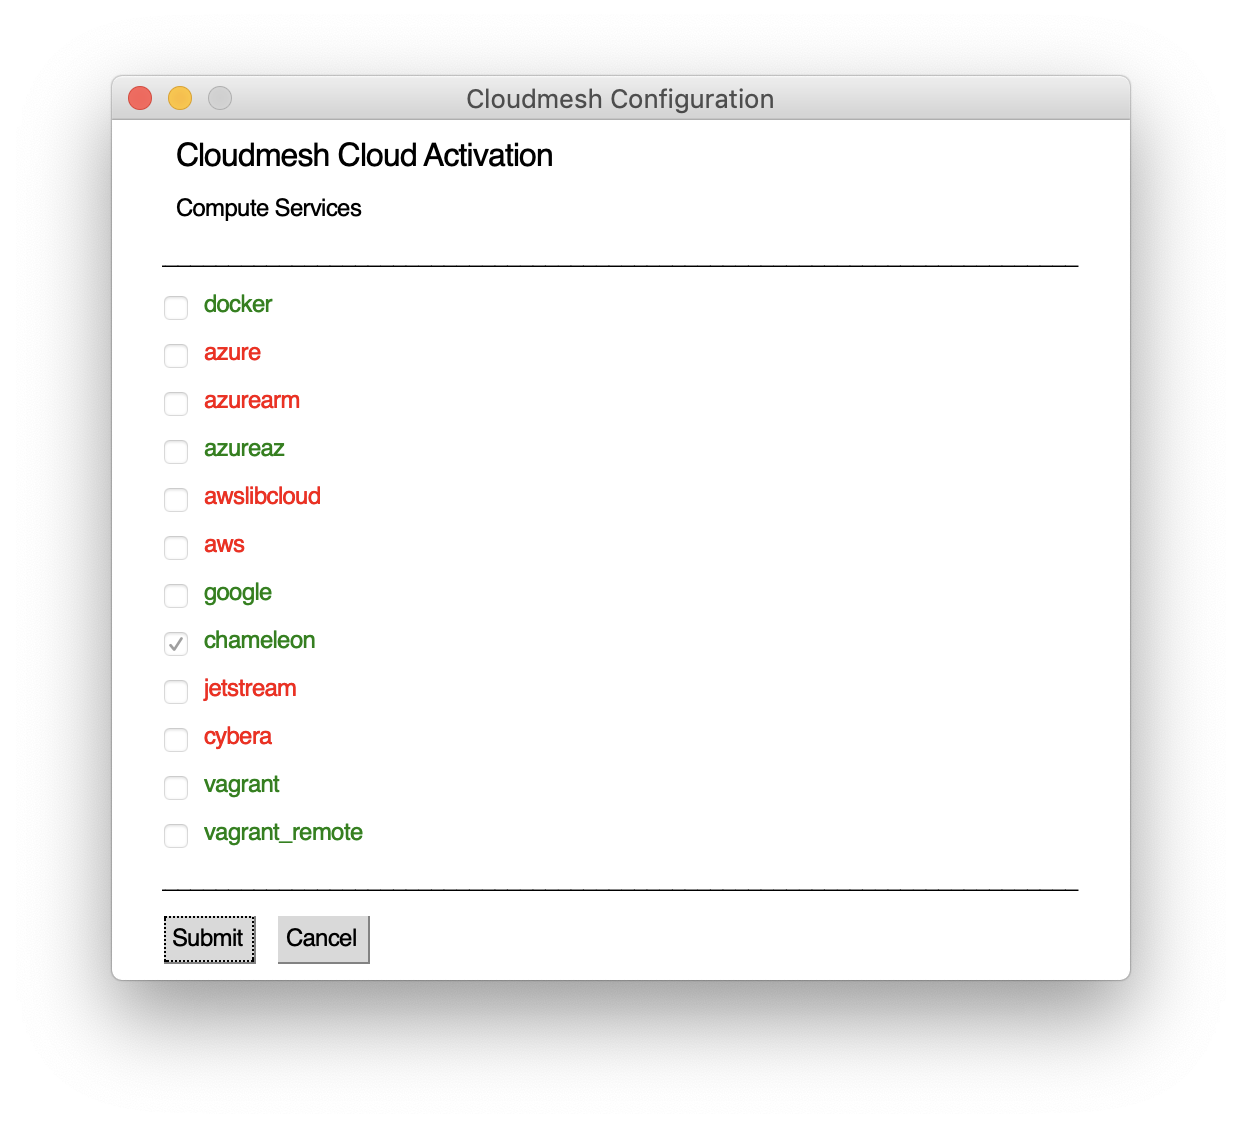
Figure: Activate clouds cms gui activate
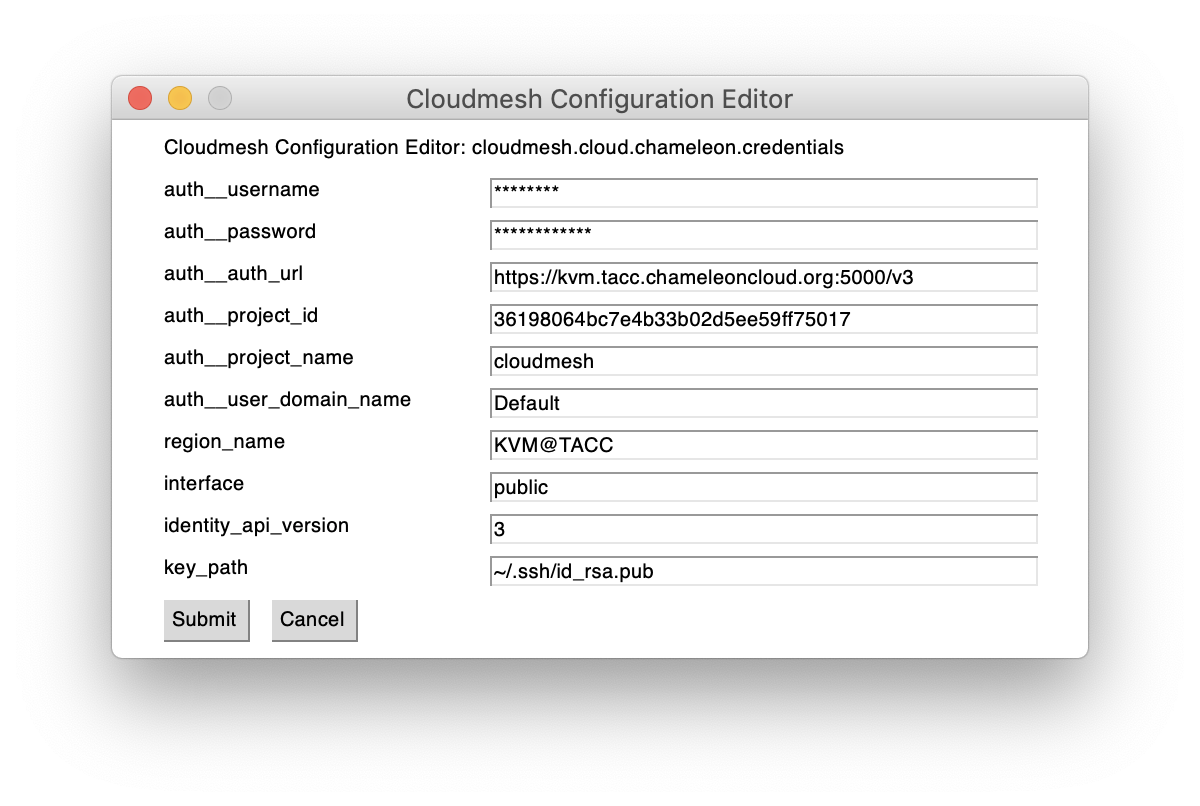
Figure: Update credentials cms gui cloud chameleon
Manual
Before we start it is important to note that cloudmesh provides a quick way to look at its documentation with
cms open doc
Generating the Key and Certificate
If you do not have yet generated an ssh key you will have to do it now. First, you need to create a public-private key with a passphrase. This can be achieved with the following command
cms config ssh keygen
Alternatively, you can create a key as follows
ssh-keygen -t rsa -m pem
In case you already have a key, that is not in pem format, you can convert it with
openssl rsa -in ~/.ssh/id_rsa -out ~/.ssh/id_rsa.pem
Validate and verify the key
To validate the key please use the cms commands
cms config ssh check
cms config ssh verify
Initialization
To initialize cloudmesh and its database the easiest way is calling the commands:
cms init
Note that the init command also starts the MongoDB. This needs to be done only one time. From now on you can start and stop cloudmesh with:
cms start
We recommend that after you are done working with cloudmesh to stop it with:
cms stop
Initialize keys and Security Groups
cms set cloud=chameleon
cms sec load
cms sec group load default --cloud=chameleon
cms key upload --cloud=chameleon
Command line
After you started cms you can issue a number of commands. The benefit of
cloudmesh is that it is easy to switch between clouds with the set command.
After the set and specifying the cloud by name many commands will default to
that cloud. The exception is the vm list command that lists by default
all vms on all clouds. In addition, the vm refresh command will also
work on all clouds.
cms start

cms set cloud=chameleon
cms set refresh=True

cms vm boot
cms image list
cms flavor list

cms set cloud=aws
cms vm boot
cms image list
cms flavor list

cms set cloud=azure
cms vm boot
cms image list
cms flavor list

cms set cloud=jetstream
cms vm boot
cms image list
cms flavor list

cms set cloud=vagrant
cms vm boot
cms image list
cms flavor list

cms vm refresh
cms vm list

cms stop
In case you want a command explicitly apply to one or more clouds or one or more vms, they can be specified by name such as
cms vm list --name vm[0-100]
cms vm list --cloud aws,azure
Defaults for the cloud and the name can be specified through set such as
cms set name=vm[0-100]
cms set cloud=aws,azure
Using the commands
cms vm list
would then add the appropriate options to the command. To reset the show to all vms set name and cloud to all
cms set name=all
cms set cloud=all
Interactive shell
Cloudmesh uses cmd5 for its shell implementation and thus all commands that are typed in in the terminal can also be typed in into a shell that is started with cms
cms
cms> set cloud=aws
cms> vm boot
Command scripts
As we use cmd5 we also have access to piped and named scripts with
echo script.cms | cms
and
cms --script script.cms
Cache
All information about for example virtual machines are cached locally.
The cache for various information sources can be explicitly updated with
the --refresh flag. Thus the command
cms vm list --refresh
cma flavor list --refresh
cma image list --refresh
would first execute a refresh while the command
cms vm list
cms flavor list
cms image list
would only read from the local cache. To change the behavior and always do a refresh from the cloud you can use the command
cms set refresh=True
To switch it off you can say
cms set refresh=False
Using quotes
Warning
In case you need to use quotes in the command line you need to mask them with a backslash on Linux and macOS and with 3 quotes in Windows, as this is a feature of your shell.
Thus you would use
cms vm list --cloud=\"chameleon\"
However, as there are no quotes needed in the previous command it can simply be written as
cms vm list –cloud=chameleon
There are two exceptions that we implemented on Linux and macOS. Here the commands
cms set x="variable with spaces"
cms config set x="variable with spaces"
It Will also work, e.g. the backslash is not needed.
However, on windows, you need to use the three quotes such as
cms set x=”””variable with spaces”””
Configuring chameleon cloud
In many of the classes, we teach you will have access to chameleon cloud. You will get a cloudmesh.yaml file as part of the class in which you only need to set your username and your password. This is done on the terminal with
cms config set cloudmesh.cloud.chameleon.credentials.OS_USERNAME=YOURUSERNAME
cms config set cloudmesh.cloud.chameleon.credentials.OS_PASSWORD=YOURPASSWORD
Where YOURUSERNAME, and YOURPASSWORD is the account name and password from the account giving you access to
Thus if you have an account and are part of the class project, you can gain access to an OpenStack cloud in seconds via cloudmesh.
Timer
Cloudmesh has the ability to print the time it takes to execute a command. You can switch it on with
cms set timer=true
Debugging
Cloudmesh has some debugging features build in. To switch them on or of, please use the commands
cms debug on
cms debug on
In the case of on the following values are set:
cms set debug=True
cms set trace=True
cms set verbose=10
cms set timer=True
After setting them additional debug messages will be printed.
In the case of off the following values are set:
cms set debug=False
cms set trace=False
cms set verbose=0
cms set timer=True
These values can also be individually controlled with the set command.